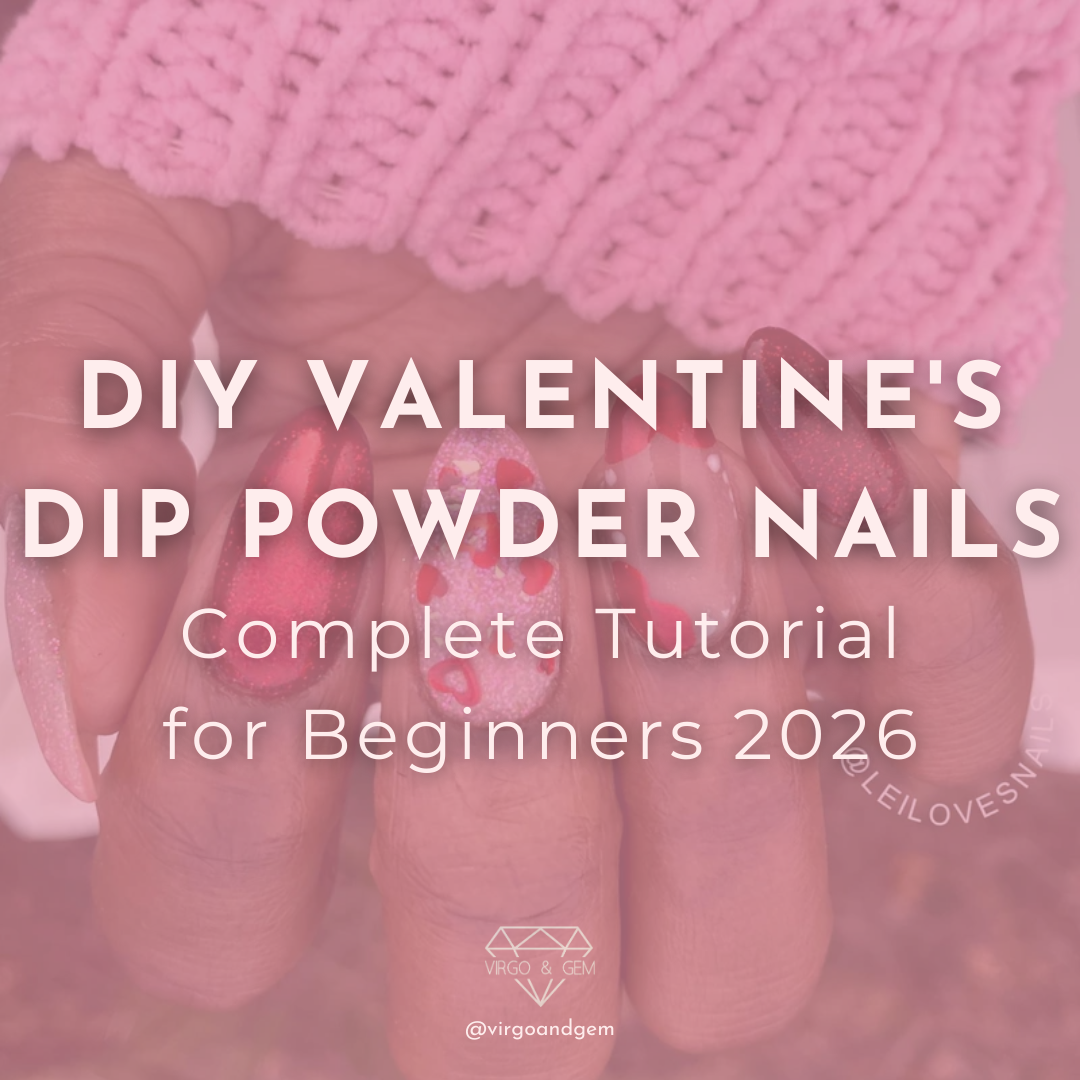
Want salon-perfect Valentine's nails without the salon prices? You're in the right place! Creating stunning dip powder nails at home is easier than you think, and we're here to guide you through every step. Whether this is your first time trying dip powder or you're looking to perfect your technique, this comprehensive tutorial will have you creating gorgeous Valentine's manicures like a pro.
At Virgo and Gem, we believe everyone deserves beautiful, long-lasting nails without breaking the bank or spending hours at a salon. Let's dive into everything you need to know about creating the perfect Valentine's Day manicure at home!
What is Dip Powder and Why It's Perfect for Valentine's Day
If you're new to dip powder nails, you might be wondering what makes them different from regular polish or gel nails. Dip powder nails are a revolutionary manicure system that combines the ease of traditional polish with the durability of acrylics.
Benefits of Dip Powder for Valentine's Day:
- Long-Lasting: 3-4 weeks of chip-free wear (perfect for all your Valentine's celebrations!)
- No UV Light Required: Unlike gel nails, dip powder air-dries naturally
- Strengthens Nails: Adds protective layer while promoting nail health
- Easy Application: Simple dipping process with no complicated techniques
- Endless Colors: Gorgeous Valentine's shades from soft pinks to bold reds
- Cost-Effective: One kit lasts for multiple manicures
What You Need: Complete Supply List
Before you start, make sure you have everything you need. The easiest way to get started is with our Complete Dip Powder Starter Kit, which includes all the essentials in one convenient package!
Essential Supplies Included in the Starter Kit:
- PH Bond/Prep: Dehydrates nails for better adhesion
- Base Coat: The "glue" that holds powder to your nails
- Activator: Hardens and sets the powder layers
- Top Coat: Creates glossy, protective finish
- Brush Saver: Keeps brushes clean and liquid products fresh
- Nail File: For shaping before and after application
- Buffer Block: Smooths and refines the surface
- Cuticle Pusher: Preps nails properly
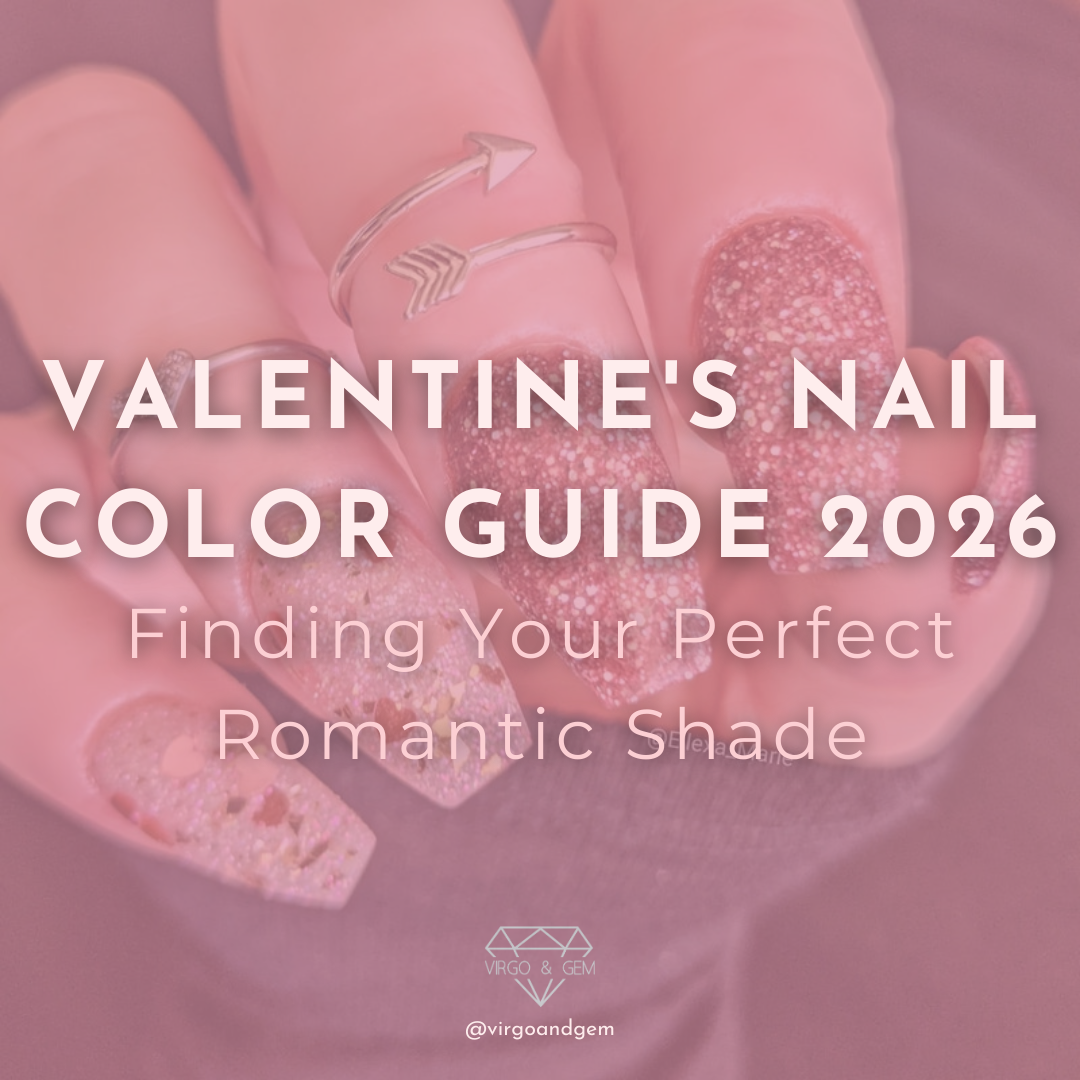
Plus Your Favorite Valentine's Colors:
Choose from our extensive Valentine's Day collection featuring romantic shades perfect for the season of love! Popular choices include:
- DP303 Roses Are Red - Classic Valentine's red
- DP384 Tutu - Soft pink nude
- DP367 Vintage Rose - Romantic mauve-rose
- Crush - Glitter with hearts
- Bow and Arrow - Pink glitter with red hearts
- DP340 Red Velvet - Deep berry red
Step-by-Step Tutorial: Perfect Valentine's Dip Powder Nails

Step 1: Prep Your Nails (Most Important Step!)
Proper preparation is 80% of achieving long-lasting results. Don't skip this step!
- Remove old polish completely using acetone or polish remover
- Wash hands thoroughly with soap and water, then dry completely
- Push back cuticles gently using the cuticle pusher - don't cut them!
- File nails to desired length and shape - oval, square, or almond shapes work beautifully
- Buff the nail surface lightly to remove shine and create texture for adhesion
- Remove all dust with a dry brush or clean cloth
- Avoid water or oils - nails must be completely dry before starting
Pro Tip: Don't soak your nails in water before application! This causes nails to absorb water and expand, which can lead to lifting later.
Step 2: Apply PH Bond
Apply the PH Bond (also called prep or dehydrator) to all nails. This removes any remaining oils and moisture, creating the perfect surface for adhesion.
- Paint it on like regular polish, covering the entire nail
- Let it air-dry for 20-30 seconds until it looks matte
- This step is crucial for preventing lifting!
Step 3: First Base Coat Layer
Now we begin the actual dipping process!
- Work on one finger at a time - this is key to success!
- Apply base coat to one nail, leaving a tiny gap at the cuticle (about the thickness of a credit card)
- Immediately dip the nail into your chosen powder at a 45-degree angle
- Tap off excess powder gently - don't blow on it!
- Repeat for all 10 fingers
Beginner Tip: Start with your non-dominant hand first. By the time you get to your dominant hand, you'll have the technique down!
Step 4: Second Base Coat Layer
For rich, opaque color, you'll want 2-3 layers. This second layer ensures even coverage.
- Apply base coat to the first nail again
- Dip at a 45-degree angle
- Tap off excess powder
- Repeat for all nails
For Glitter Shades Like Crush or Bow and Arrow: You may want to add a third layer, then finish with a dip into clear powder to create a smooth surface for the top coat.
Step 5: First Activator Application
Time to harden that powder!
- Apply activator generously to all nails, covering the entire surface
- Let dry for 2 full minutes - don't rush this! Set a timer
- The powder will transform from matte to slightly shiny
Step 6: Shape and Smooth
This is where your nails go from good to great!
- File the tips to perfect your desired shape and length
- File the sides to smooth any bumps or uneven edges
- Buff the surface gently with the buffer block until smooth
- Brush away all dust thoroughly - use a clean, dry brush
Pro Tip: File in one direction rather than sawing back and forth for the smoothest results.
Step 7: Second Activator Application
- Apply another coat of activator to all nails
- Let dry for 2 minutes
- This step ensures everything is fully hardened before sealing
Step 8: Apply Top Coat
The final step that gives you that gorgeous, glossy finish!
- Apply the first coat of top coat to all nails
- Let dry for 1-2 minutes
- Apply a second coat for extra shine and protection
- Let dry completely (about 5 minutes) before using your hands
For Ultra-Glossy Nails: Some people prefer to apply 3 thin coats of top coat rather than 2 thick ones. This creates an incredibly smooth, glass-like finish!
Creating Valentine's Nail Art Designs
Easy French Tips with a Valentine's Twist

French tips are elegant and surprisingly easy with dip powder!
- Apply DP384 Tutu as your base color following steps 1-4 above
- After activating and smoothing, use a thin brush dipped in DP367 Vintage Rose or red to paint tips
- Alternatively, apply base coat only to the tips and dip just the tips into red powder
- Activate, smooth, and top coat as usual
Heart Accent Nails Made Easy

Here's a secret: our Crush and Bow and Arrow powders have hearts already in them!
- Apply your base color (try DP384 Tutu or DP367 Vintage Rose) to all nails
- On your ring fingers or accent nails, apply base coat
- Dip into Crush or Bow and Arrow powder
- The hearts will distribute naturally across your nail
- Finish with clear powder for a smooth finish
- Complete with activator and top coat
Ombre Valentine's Nails

Create a gradient from light to dark for a romantic look:
- Thumb & Pinky: DP384 Tutu (lightest)
- Index & Ring: DP367 Vintage Rose (medium)
- Middle: DP303 Roses Are Red or DP340 Red Velvet (darkest)
Common Beginner Mistakes (And How to Avoid Them)

1. Working Too Slowly
Mistake: Applying base coat to all nails before dipping
Solution: Work one nail at a time! Base coat dries quickly, so you must dip immediately after application.
2. Applying Too Close to Cuticles
Mistake: Getting product on the cuticle or skin
Solution: Leave a small gap (credit card thickness) around cuticles. Use a clean brush dipped in acetone to clean up mistakes before activating.
3. Rushing the Drying Time
Mistake: Not letting activator dry fully
Solution: Set a timer! Each activator coat needs a full 2 minutes. Rushing this causes weak nails that chip easily.
4. Skipping the Buff
Mistake: Not buffing the surface smooth
Solution: Take time to buff away any bumps or rough spots. This is what makes your nails look professional!
5. Thick, Goopy Layers
Mistake: Applying base coat too thickly
Solution: Thin, even layers work best. It's better to do 3 thin coats than 2 thick ones.
Making Your Valentine's Manicure Last
With proper care, your dip powder nails will last 3-4 weeks! Here's how to maximize longevity:
Daily Care Tips:
- Wear gloves for dishwashing, cleaning, and gardening
- Apply cuticle oil daily to keep nails and cuticles hydrated
- Avoid using nails as tools - no opening cans or scratching off stickers!
- Moisturize hands regularly but avoid getting oil on the nail surface
- Don't pick or peel at your nails if they start to lift
If You Notice Lifting:
Small lift starting at the cuticle? Don't panic! You can do a mini touch-up:
- Gently buff down the lifted area
- Clean with rubbing alcohol
- Apply base coat and dip powder to the area
- Activate, smooth, and top coat
Removal: The Gentle Way
When you're ready to remove your Valentine's nails (though you might want to keep them forever!), follow these steps for healthy nail removal:
- File off the shiny top coat layer
- Soak cotton balls or pads in acetone
- Place on each nail and wrap with aluminum foil
- Let sit for 10-15 minutes
- Gently push off softened powder with an orangewood stick
- Buff nails smooth and apply cuticle oil
Important: Never peel or force dip powder off! This can damage your natural nails.
Building Your Valentine's Dip Powder Collection

Ready to expand beyond your starter kit? Here are our recommended additions from the Valentine's collection:
Essential Valentine's Shades:
- One Classic Red: DP303 Roses Are Red or DP139 Love is Love
- One Soft Pink: DP384 Tutu or DP145 Petal Paradise
- One Glitter with Hearts: Crush or Bow and Arrow
- One Unique Shade: DP367 Vintage Rose or DP340 Red Velvet
- One Special Effect: Garnet Chrome or DP162 Blind Date (thermal)
Mix and match these shades for endless Valentine's looks! Browse our complete dip powder color collection for even more options.
Ready to Get Started?
Everything You Need for Perfect Valentine's Nails:
-
Complete Starter Kit - All essential tools and liquids
- Full Valentine's Collection - 25+ romantic shades
Plus FREE SHIPPING on orders over $65!
You've Got This!
Creating beautiful Valentine's dip powder nails at home is an achievable, rewarding skill that will save you time and money while giving you gorgeous, long-lasting results. With Virgo and Gem's high-quality products and this comprehensive guide, you have everything you need to succeed.
Remember: everyone starts as a beginner. Be patient with yourself, follow the steps carefully, and don't skip the prep work. Your stunning Valentine's nails are just a dip away!
Happy Valentine's Day, and happy dipping! 💕

Dejar un comentario
Este sitio está protegido por hCaptcha y se aplican la Política de privacidad de hCaptcha y los Términos del servicio.