How to Get the Shiniest Dip Powder Top Coat
Applying the top coat is the final step in achieving flawless dip nails at home. Done right, it seals in your color, adds shine, and helps your dip powder nails last longer.
But if you rush through this part or skip a key step, you could end up with a dull finish—or worse, hardened brushes. Don’t worry—we’ve got your back with a simple, step-by-step guide to get that perfect top coat using your dip powder nail kit.
Step 1: After applying Activator, wait at least 2 minutes until it's completely dry. (No shortcuts here! ⏳)
Step 2: Take a lint-free wipe and rub each nail to remove excess Activator. This prevents the Top Coat brush from hardening!
Step 3: Apply the first layer of Top Coat using 3 quick strokes per nail—don’t overwork it! Repeat on each nail, and by the time you finish the last one, you can immediately start applying the second layer.
Step 4: Apply the second layer of Top Coat, this time covering the entire nail smoothly. Watch the shine appear instantly! 💅

✨ Bonus Tip:
Avoid going over the same spot multiple times—this helps keep the brush from picking up Activator and stiffening.
Why This Matters for Your Dip Powder Routine
Whether you're using a beginner-friendly nail dip powder kit or a professional dip powder nail kit, these top coat steps are key to achieving stunning dipped nails that last. Proper application also protects your manicure from chips and ensures your nails stay strong and shiny for up to three weeks.
By mastering the top coat process, you're not just finishing your manicure—you’re locking in all the work you've done with your nail dipping powder system.
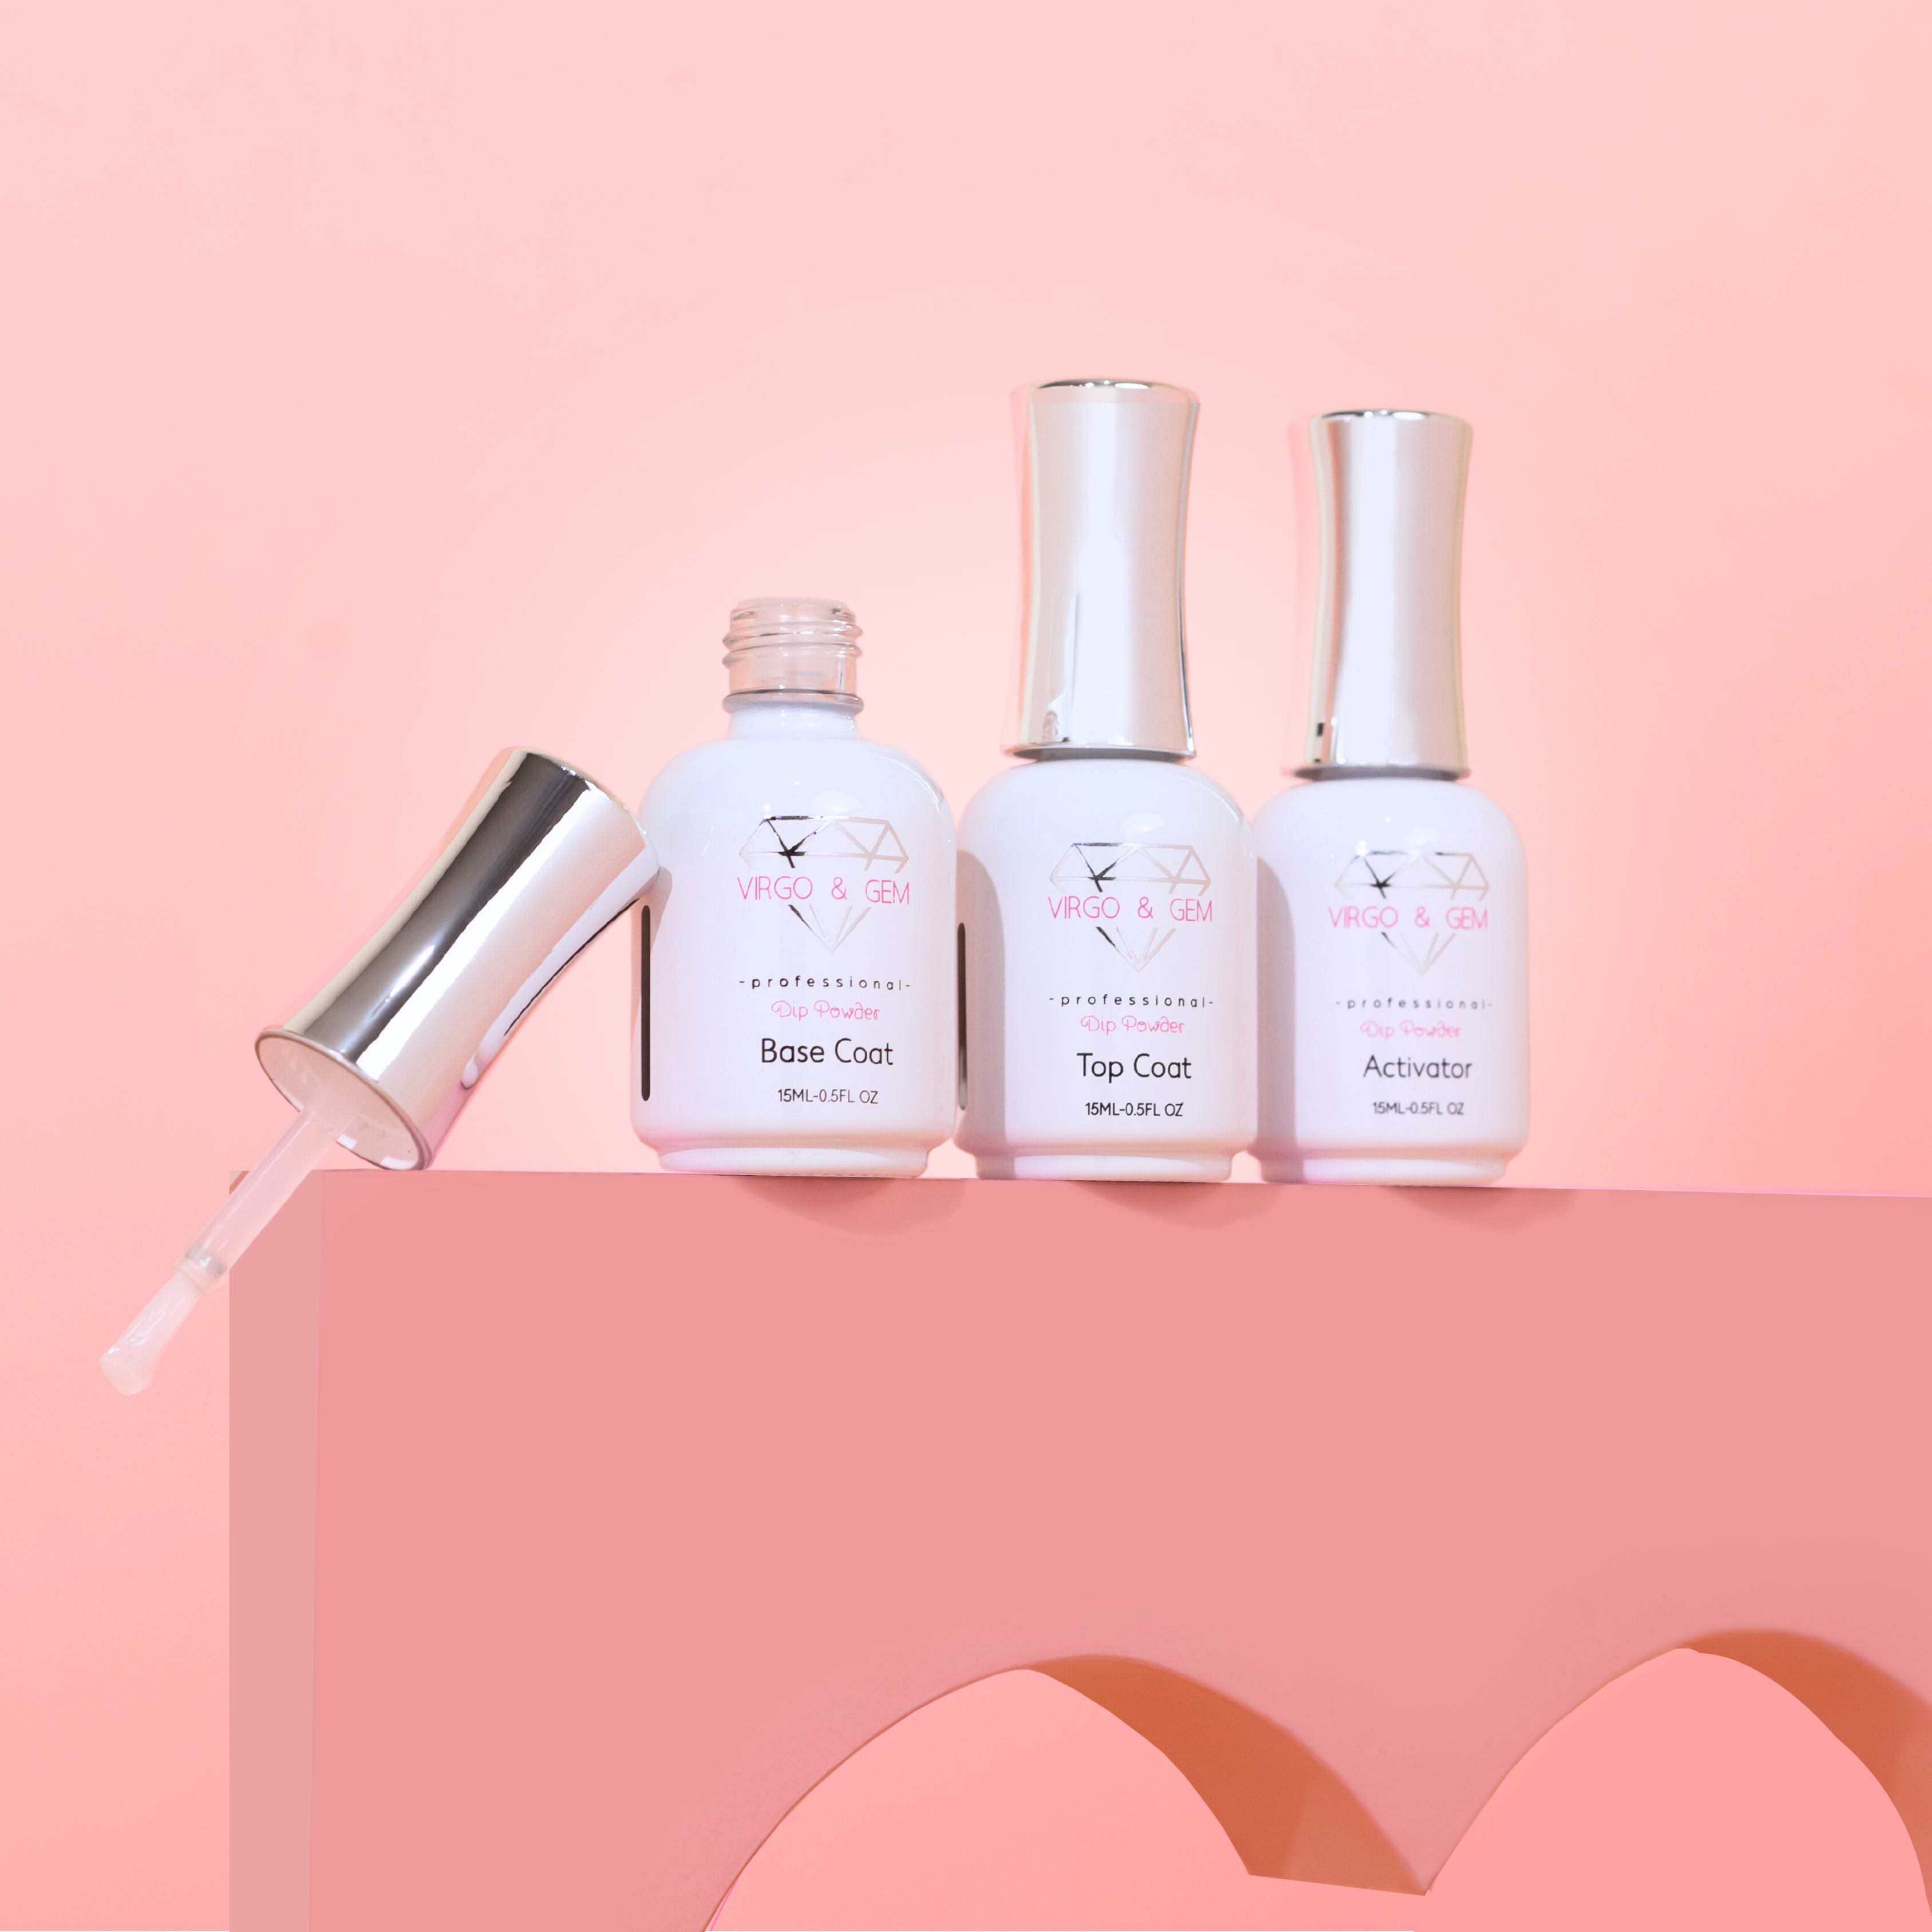
Looking for a kit that includes everything you need?
Check out Virgo & Gem’s complete dip powder nail kit—featuring smooth-setting dip powder, fast-drying liquids, and tools for flawless application every time.
Dejar un comentario
Este sitio está protegido por hCaptcha y se aplican la Política de privacidad de hCaptcha y los Términos del servicio.