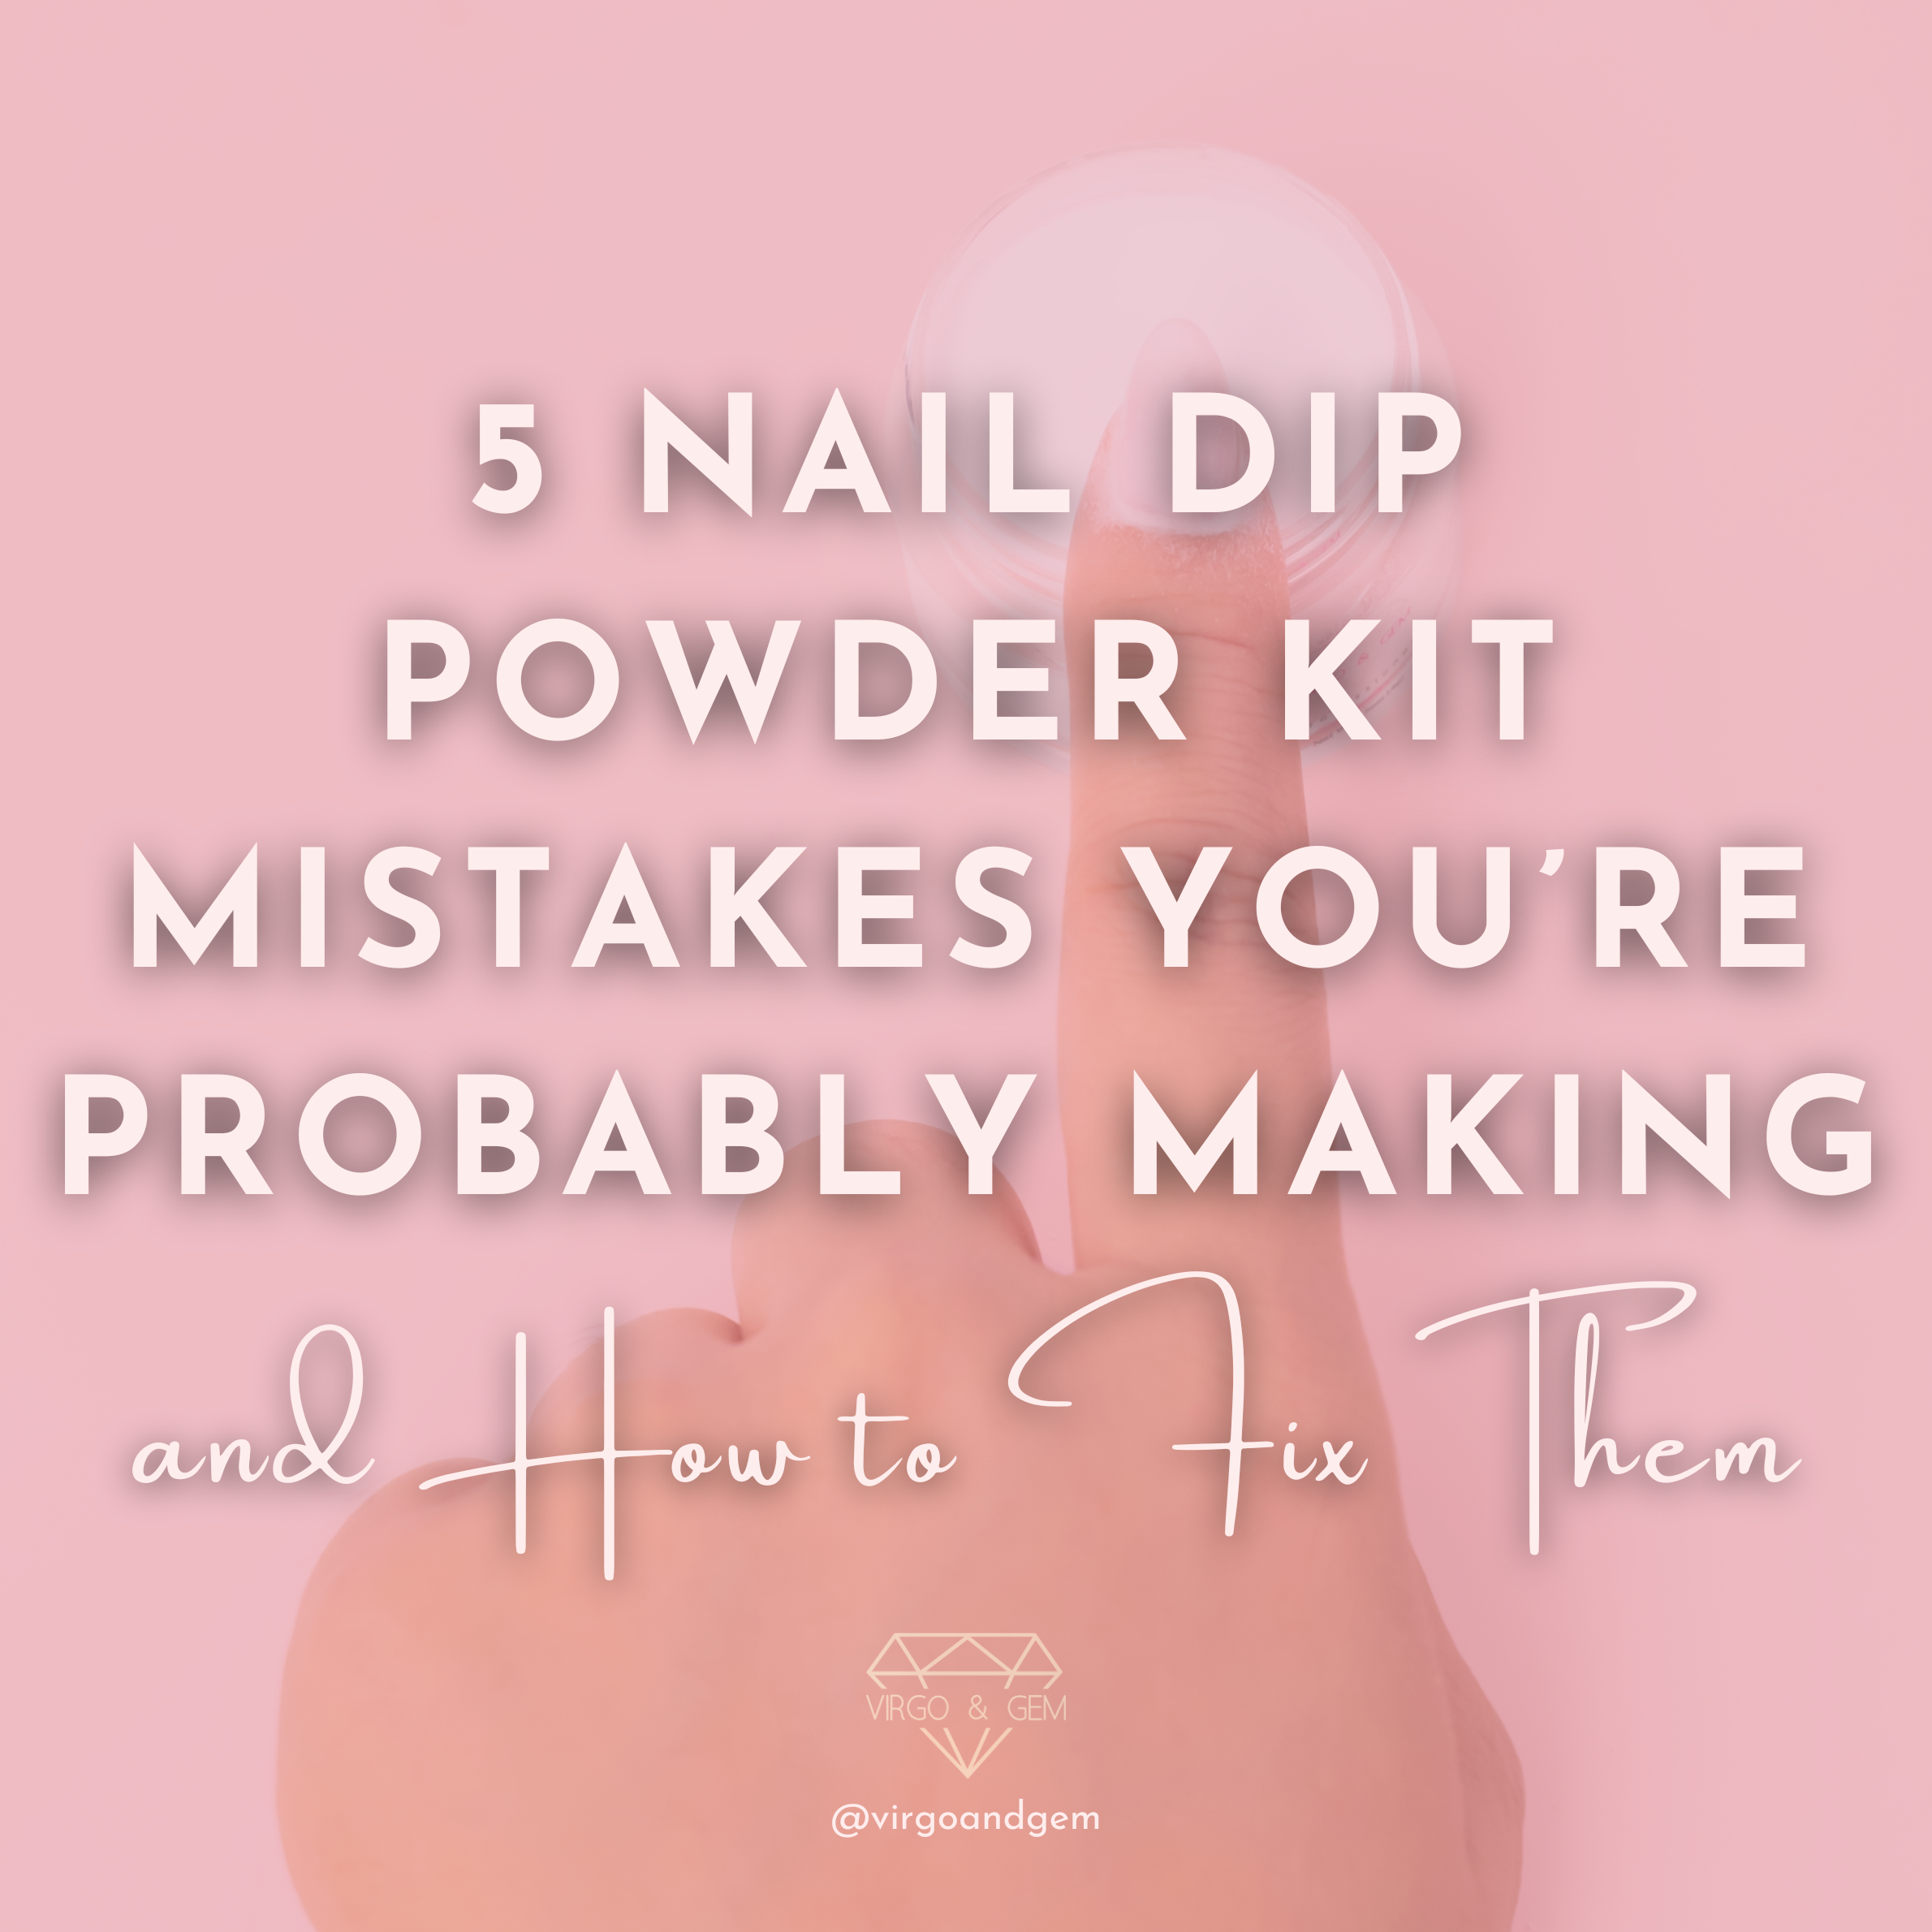
5 Nail Dip Powder Kit Mistakes You’re Probably Making (and How to Fix Them)
If you’ve been using a nail dip powder kit at home and your results aren’t turning out as smooth or long-lasting as you hoped, you’re definitely not alone. Many beginners experience the same early hurdles while learning. The good news? Every one of these issues has a simple, easy fix.
Below, we’ll walk you through the five most common mistakes we see people make with their dip powder nail kit and how to correct them so you can achieve cleaner, stronger, and more professional-looking nails at home.
Mistake 1: Skipping Proper Nail Prep
A flawless manicure starts with the steps you take before you dip. Prep is the foundation, and skipping it is the fastest way to get lifting or uneven results.
Common issues we see:
- Lifting around the cuticle
- Chipping after a few days
- Uneven or bumpy layers
How we fix it:
We always make sure the nail plate is completely clean: push back cuticles, buff lightly, and remove any oils with rubbing alcohol or a pH bond. Even the best powders won’t bond well if the nail still has natural oils.
I also remind customers to keep the base liquid off their skin. If it floods the cuticle, the dip powder won’t adhere correctly and will lift quickly.
Mistake 2: Applying Thick or Uneven Layers
This is easily one of the biggest beginner mistakes. Thick coats cause clumps, streaks, and that heavy, uneven look no one wants.
The problems this creates:
- Lumpy texture
- Bulky nails
- Ridges that won’t smooth out
- Patchy coverage
How we fix it:
We always recommend applying thin, controlled layers of base liquid before dipping. Thin layers build better strength and improve the overall look.
You can either dip the nail at a 45-degree angle or lay the nail flat on top of the powder. Both methods help the powder distribute evenly and prevent heavy buildup.
Between each layer, we gently brush away excess powder. This small step prevents texture and also reduces liquid contamination, keeping the layers clean and smooth.
Mistake 3: Using the Wrong Dip Liquids or Top Coat
Your powder matters, but your liquids matter just as much. When liquids and powders don’t pair well, things can go wrong fast.
What can go wrong:
- A dull or cloudy finish
- Top coat that won’t dry
- Soft or flexible nails
- Color fading too quickly
How we fix it:
We always tell customers to use dip liquids that are made to work with their powders. Not all formulas bond well together, and mismatched liquids can cause cloudiness, streaking, or soft nails.
When applying activator, we make sure the entire nail is coated. Without enough activator, the top coat won’t fully cure.
And yes—always cap the free edge to prevent early chipping. However, we do not apply activator after every layer. Activator is only used after the final dip layer. If applied too early, it dries anything placed on top of it, which prevents the base from sticking.
Mistake 4: Rushing the Filing and Shaping Step
We know filing isn’t the fun part. But it’s the step that transforms your nails from “DIY at home” to “salon-ready.”
When filing is rushed:
- Nails look thick
- Shape becomes uneven
- The top coat settles poorly
- Textured bumps show through the shine
How we fix it:
I make sure to shape and smooth the nail after applying activator and letting it dry. Filing helps remove any bumps, straightens the sides, and ensures the shape is clean before finishing.
Using a fine-grit buffer gives a smoother surface for your top coat to stick to. It’s the secret to a glossy, even finish.
And always brush away dust completely—this is one of the biggest reasons top coats streak or look uneven.
Mistake 5: Not Sealing the Manicure for Long Wear
Dip powder is strong, but it still needs the right final steps to last.
What happens if you skip sealing:
- Nails chip early
- The surface dulls after a few days
- Edges crack or peel
- Color lifts near the cuticle
How we fix it:
At Virgo & Gem, we always apply activator generously to fully harden the layers. Without it, your top coat won’t perform correctly.
Then we finish with two layers of top coat. The first one locks everything in. The second gives that bright, glossy shine.
We also recommend avoiding water and lotion for at least an hour after your final top coat to prevent softening. And for long-term wear, daily cuticle oil is a must. Hydrated nails hold a dip manicure much better.
Our Virgo & Gem Pro-Approved Fix-It Guide

If you’re still dealing with bumps, lifting, or cracking, don’t worry, that’s exactly why we created Virgo & Gem. We wanted a dip system that works for beginners, lasts long, and gives that soft, salon-quality finish.
Here’s how our products help you get better results:
Our Dip Powder Nail Kit is beginner-friendly
Every product in the kit is formulated to work together: powders, base coat, activator, top coat, and pH bond.
Our powders are ultra-fine for smoother application
This means fewer clumps, fewer bumps, and more control.
Our liquids are formulated to self-level
This helps prevent streaks and uneven texture while giving you cleaner layers.
Step-by-step instructions included
Whether you’re new or improving your technique, we guide you from prep to finish.
Cuticle oil to boost longevity
We always recommend using cuticle oil every day for hydration and longer wear.
If you want tutorials, color inspiration, or quick tips, follow us on Instagram and Facebook. We post everything from beginner guides to seasonal color ideas to new product drops.
Final Thoughts
Improving your dip manicure doesn’t have to be complicated. Most of the issues we see—lifting, clumps, dullness, cracking—come from a few simple mistakes that are easy to fix with the right technique and high-quality products.
With proper prep, thin layers, the right liquids, and a little patience with filing and sealing, your dip powder nails will look smoother, last longer, and feel more professional.
And if you ever need help or want to upgrade your routine, we’re always here for you!


Leave a comment
This site is protected by hCaptcha and the hCaptcha Privacy Policy and Terms of Service apply.